Before you begin your life casting front torso, it will be helpful to describe the entire molding and casting process. We are going to create a life casting mold and then an actual casting of a model. A model is any subject that you are going to duplicate. A mold is a negative of a model. A cast is a positive of the model, made by pouring a liquid into the mold and allowing the liquid to harden.
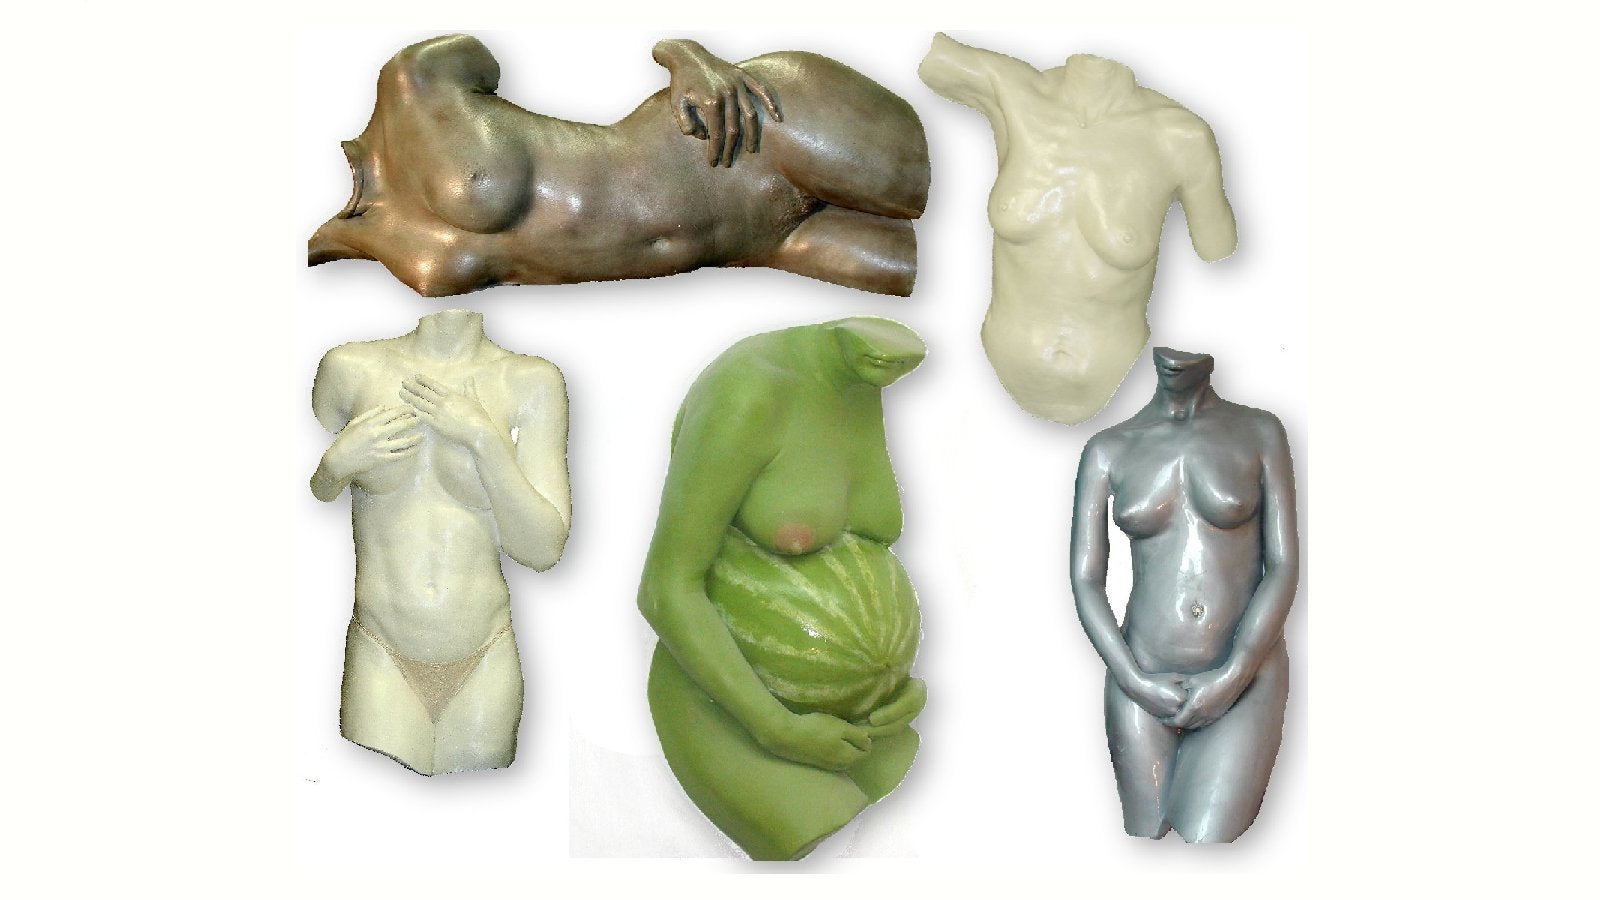
The hardened material is called a casting. The model that we will use for this project is a human one. The mold that we will make is of the front torso of the subject, from the top of the neck to below the groin area, just above mid-thigh. (See adjacent examples.) If you choose to, you could just as easily make a rear torso or add arms.
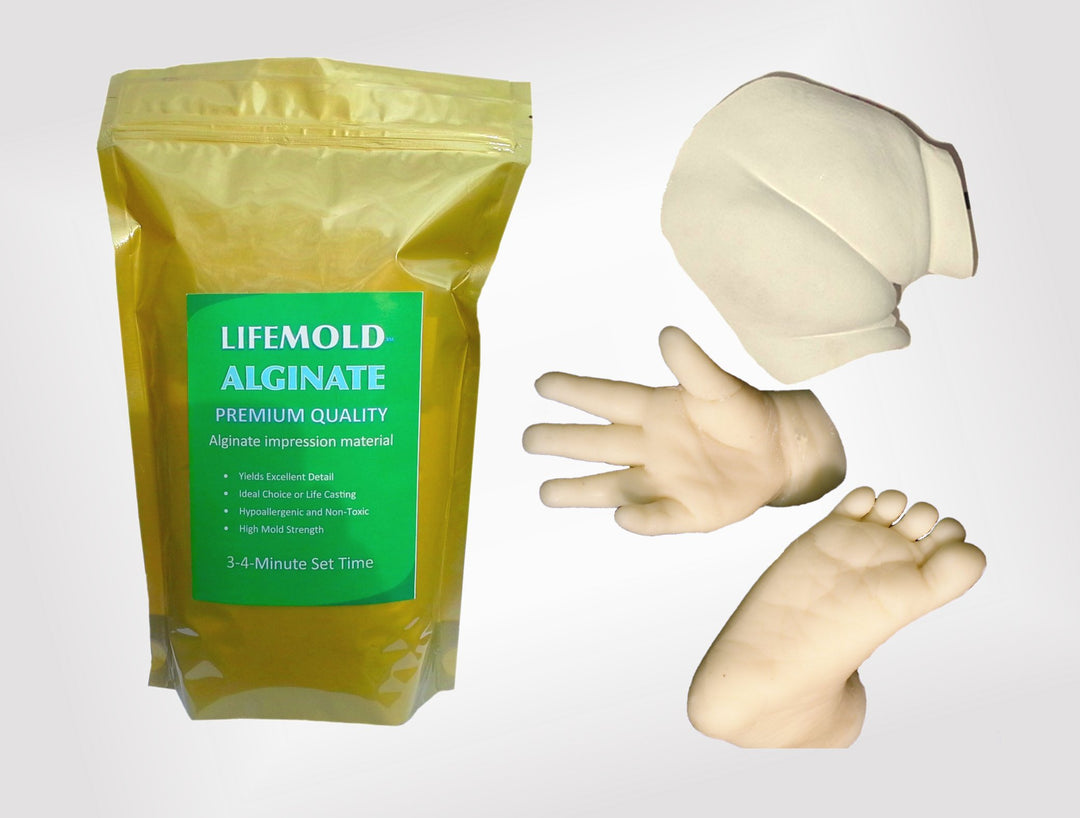
To begin, we prepare the model by applying a hair release agent such as petroleum jelly or MoldEZ™, which is water-soluble (meaning it washes out easily), to body hair to minimize the molding material from tangling in the hair. Alginate is the mold material that we will use. Alginate is skin safe and does not stick to skin, so bare skin needs no release unless it is very hairy.
Then, the molding process begins by mixing and applying a very soft (like thick yogurt) and a hypoallergenic material, called MoldGel SloSet, an alginate brand, to the skin of the model. With MoldGel SloSet mixed at a ratio of 16 ounces of powder to 54-64 ounces of water (depending on your preference for thickness) and using a total of 32 ounces of MoldGel (2 lbs.)—one coat will suffice. (Other alginate brands are thinner and may need two coats.)
Nothing sticks to alginate so before the MoldGel is set we will embed fiber into it; that way when we apply the plaster gauze bandages in the next step, the MoldGel and plaster bandages will bond together making removal much simpler. The plaster gauze bandages will support and stiffness for the alginate mold.

Applying plaster gauze bandages to the alginate mold as reinforcement.
After the MoldGel sets, it is rubber-like, but still delicate, a shell of plaster bandages (known to a mold maker as a shell mold or mother mold) is applied over the MoldGel to make the mold rigid to support the weight of the casting material you will pour in later. The bandages will be three layers thick with extra thickness added around all the edges. The shell supports the MoldGel after the mold has been removed. These two layers (MoldGel and hardened bandages) are taken off together and form a 'bowl' that is an exact negative of the torso. If removed separately, you will never get them to fit together exactly. That is the purpose of using fiber embedded into the MoldGel—to bind the MoldGel to the mother mold.
Alginate is mixed with distilled water and then applied starting from the neck down. Let gravity help. Notice that the alginate is mixed thicker. If you mix it too thin, it will be runny and will not stay in place. However, the thicker the mix, the faster the set. Test setting times before your model arrives as it varies depending on thickness and temperature.
The mold is inspected, repaired as often needed, and prepared for casting. The casting material (in this case, we use CastRite) is mixed with water and then applied to the mold in three separate applications. The first application is applied by brush. This is called the face coat. This is a thinner coat and is the most important one as it is the one that shows.
By painting this coat on the surface of the mold, you are ensuring that the surface will be bubble-free as the brush forces out all the trapped air in the casting mix. The next applications are thicker coats usually having fiber strands added to it for strength. Though sometimes fiber mat is laid into the mold and the CastRite is applied over the mat. After the CastRite has set, the MoldGel and plaster bandages are removed and discarded. They can be used only once. The cast can be finished in various finishes or simply sealed with low gloss polyurethane varnish and is ready for display.
Remember, if you put the MoldGel on too thick, it will cause the tissue to sag, like excessive gravity; if you put it on too thin, the MoldGel will have thin spots which will break or tear apart easily. The ArtMolds' Front Torso Casting Kit provides you with 2 pounds of MoldGel SloSet which is more than enough to do a front torso of an average-sized woman (even pregnant) or an average-sized man. After the application of MoldGel, you will pat on a cotton pad to allow the cotton to adhere to the sticky alginate surface.
This fiber application is an important step as it allows the plaster bandages that you will apply next to adhere to your agent mold. (Remember, nothing sticks to alginate so you must help it by using the cotton fiber.) Once the MoldGel mold is dry, you can begin applying your plaster bandages to form a firm support shell. Use a minimum of three layers of bandages. At the edges of your mold, fold the plaster bandage into quarters (like the rolled edge of a cooking pot) for added strength. Remember that the plaster bandages don't just have to hold the MoldGel; they also must support the heavy casting material that you will be putting into the mold. Let the plaster bandages set so they are hardened to the touch. You can speed set time by adding a few tablespoons of salt.
Remove the mold when it is ready to be removed (about 20 minutes), gently insert your fingers all around the perimeter of the mold to pull the mold loose. Suction will keep it stuck in place, but by inserting your fingers slowly and with a gentle rocking motion of the mold, air can get in, and the mold can be easily removed. Pubic hair may stick, but with a very slow pulling pressure, it should slowly slip out without damage to the MoldGel, provided you put enough petroleum jelly or MoldEZ on the hair.
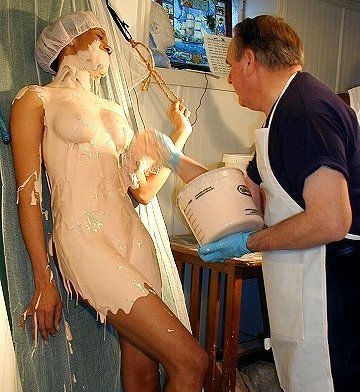
Applying alginate to create a front torso casting.
Once your mold is properly supported, you should pat it dry with paper towels. If you have rips or tears in the mold, fill them with plasticine clay and/or MoldEZ and smooth it out to the level of your mold surface. It is better to have too little clay than too much, as too much will cause a depression in the finished piece. Whereas, too little (this is counterintuitive, I know—but remember this is a negative) will cause a bump that can easily be sanded smooth. Where the legs and arm openings are, cover with some plaster bandage so the CastRite will not flow out. You must liberally apply petroleum jelly or MoldEZ when these plaster bandages set, or your cast material will adhere to the bandages making later removal difficult. The first batch of CastRite is painted into your mold using a paintbrush. This gets it into every minute crevice and eliminates air bubbles. Once the face coat is set up, but not completely dry, allow the second coat time to thicken in the mixing container, then pour the next batch and move it around the mold evenly with your hands (use rubber gloves to keep your hands clean), smooth as you go. You can wet your gloves with water to help the smoothing. When that sets up, you will then repeat the process with a third coat.

Examples of front torso casts
Once the CastRite is setup you can carefully demold and cleanup any imperfections.

Leave a comment